How to Make a Volunteer Certificate: Step-by-Step Guide for Nonprofits and Community Leaders
 Jul, 10 2025
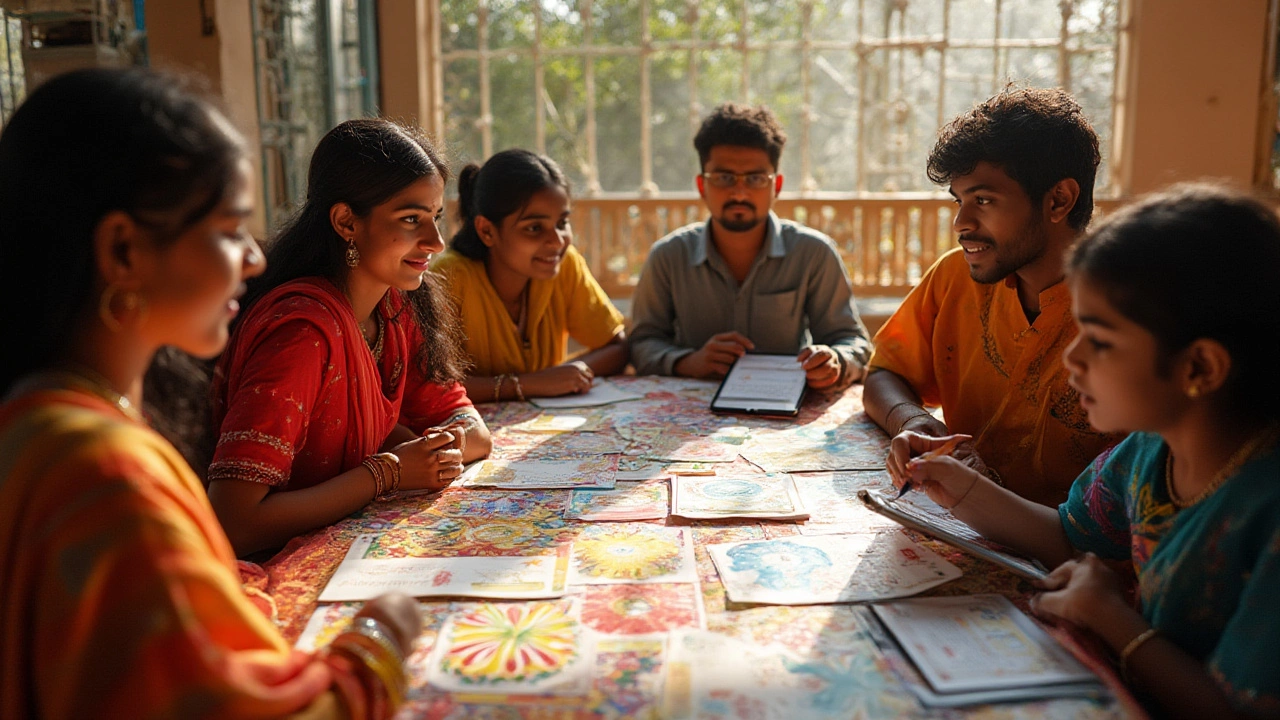
Ever noticed how a small piece of paper can make someone beam with pride? That’s what a good volunteer certificate can do. It doesn’t just wrap up the hours someone spent helping out—it’s proof of their time, sweat, and heart for a cause. And let’s be honest, volunteering can be demanding, messy, and sometimes a thankless job. But a certificate? That can be the cherry on top, showing gratitude, boosting morale, and maybe giving someone a nudge toward a college application or future job. I'm not exaggerating: my own daughter Orla stuck hers right on the fridge, like a gold medal. So, how do you create a volunteer certificate that actually feels meaningful? Let’s get into it.
Why Volunteer Certificates Matter (And What to Include)
The first thing to know: this isn’t just about a piece of paper. Volunteer certificates hold real weight—sometimes literally, when someone hands over a thick cardstock version—but mostly in the sense of recognition. In a 2021 survey by the Points of Light Foundation, 66% of volunteers said that formal recognition kept them engaged and happy in their roles. In schools, clubs, and nonprofits, certificates can boost confidence and help people feel seen. For kids and teens, they often end up in college portfolios or part-time job interviews. For adults, certificates can fill resume gaps or serve as references for future community involvement.
You don’t have to reinvent the wheel with your certificate, but you do need to strike a balance: official enough to impress, warm enough to feel special. Here’s what every solid volunteer certificate should have:
- Volunteer’s Full Name: Absolutely essential. Double-check spelling (I’ve had Orla’s name spelled five different ways by well-meaning folks!).
- Date
- Organization or Project Name
- Description of Service: Just a line is fine, like “For outstanding dedication at Summer Food Bank” or “2025 Spring Park Cleanup.”
- Signature Line(s): Add one from a leader, coordinator, or even a board member if you want to up the prestige.
- Hours Served (Optional): Especially for teens needing proof for school.
- An Official Logo or Seal: Makes it look credible. According to a 2024 LinkedIn infographic, official-looking certificates are 36% more likely to be kept or displayed.
- A Unique Certificate Number (Optional): This isn’t required, but organizations use it for authenticity or easy tracking—especially for larger programs.
When you get these points right, you set up the next volunteer to walk away feeling appreciated and recognized. And hey, certificates aren’t just a pat on the back—they’re real-world proof of experience.
Designing the Perfect Volunteer Certificate
This part used to be low-tech: someone in the back office printing off Word templates from 2002. No shame in the old ways, but today’s volunteers—and future employers or admissions officers—definitely notice modern touches. The design doesn’t need to be flashy, but it shouldn’t look like it was typed up at the last second. About 48% of organizations now use digital templates or online platforms to design their certificates, which allow for colors, icons, and quick personalization.
Here are some practical tools and tricks you can use, whether you’re great with computers or still figuring out PDFs:
- Use free online tools like Canva, Adobe Express, or even Google Docs. These platforms offer certificate templates so you don’t have to start from scratch. Canva, for example, has volunteer-specific layouts ready to tweak.
- Pick a clean, readable font (think Arial, Georgia, or something similar). Save the curly stuff for headlines only. People actually struggle to read certificates with too many different fonts—a common design complaint.
- Stick with a soft background color or classic white. Use your organization’s colors for borders or headers to make it feel official but not overwhelming.
- Always add your logo somewhere small but visible—bottom left, right, or as a subtle watermark.
- Include a quote or small note of appreciation, like “Your time and effort made a real impact!” It’s a tiny touch that can make a big difference.
Want it to last? Print certificates on at least 120gsm thick paper (standard printer paper is just 75-90gsm, which feels flimsy). For digital versions, save as a high-res PDF so volunteers can print their own. Pro tip: Use an online platform like DocuSign or Adobe Sign if you want digital signatures—especially handy for remote volunteers.
Here’s a quick glance at what other organizations are doing:
| Tool/Platform | % of Orgs Using (2024) | Standout Feature |
|---|---|---|
| Canva | 37% | Drag-and-drop design, easy templates |
| Adobe Express | 21% | Pro-looking typography, lots of graphics |
| Google Docs | 19% | Simple, easy collaboration |
| Microsoft Word | 14% | Familiar interface, simple formatting |
| Custom Software | 9% | Tailored to big organizations |
It can be tempting to go overboard with digital flourishes, but remember: simplicity + clarity wins every time.

Personalizing Certificates for Extra Meaning
Certificates aren’t just about filling in a name and a date. If you make them personal, people notice. This doesn’t mean hours of extra work. It’s more about thoughtful tweaks that show you actually saw and valued the volunteer’s work. If someone was a superstar at connecting with kids at an after-school club, or stepped up when the event went sideways, this is the spot to call it out. According to a 2023 report from VolunteerMatch, personalized recognition increased volunteers’ desire to return by 28% compared to generic thank-yous.
- Add a line mentioning a specific achievement. For example, “For organizing the book drive and inspiring other students,” or “For leading our winter coat campaign with positivity and creativity.” These small notes don’t take long to write, but they stick with people.
- Include the volunteer’s pronouns, if you know them. It’s a simple touch and makes everyone feel seen.
- Use signatures from leaders who actually worked with the volunteer—authenticity matters more than a fancy title.
- For youth volunteers, add a blurb they can use on their college applications: “Orla demonstrated leadership by managing inventory and supporting new volunteers in a fast-paced food bank environment.”
- If your program serves a diverse group, consider offering translated versions or dual-language certificates. Bilingual certificates are a fast-growing trend, making the recognition that much more inclusive.
Handing off the certificate in public (like at a group meeting or end-of-project event) adds a little shine, too. Even online, a short shoutout during a video call or group email does the trick. Want to really emphasize the volunteer certificate itself? Add a “Certificate Number” and offer a QR code linking back to a verification page or organization bio. That way, your volunteers have proof that’s easy to share on LinkedIn or other social platforms.
Kids light up when a certificate includes a short story or fun fact about what they did. I once saw Orla’s friend get a certificate for “quick thinking when the lemonade stand ran out of supplies.” She’s still talking about it two years later. For adults, mention the lasting impact or ripple effect of their work, like, “Your work helped us serve 400 meals this season.”
The Step-by-Step Process: Start to Finish
Ready to roll up your sleeves? The step-by-step part isn’t as scary as it sounds. You don’t need fancy software or hours of spare time. Here’s how you can make volunteer certificates pop—whether you’re in charge of a huge nonprofit or just running the neighborhood cleanup crew.
- Collect Information
Gather the correct spelling of volunteer names, dates of service, hours worked, and any awards or roles. Ask team leads if anyone deserves special recognition. Triple-check spellings, especially with names (trust me, people notice). - Choose a Template
Select a digital template from an online tool, or download a certificate example as a Word or Google Doc file. Pick one with room for your logo, at least one signature line, and space to personalize a message. - Enter the Details
Fill in names, service descriptions, and dates. Add a line or two about the specific help each volunteer provided—this doesn’t have to be lengthy. Paste in your organization’s logo and double-check formatting before saving. - Sign the Certificate
Upload a scanned signature for a digital version, or sign by hand if you’re printing. For remote teams, consider using digital signature tools so the certificate looks just as official. - Print and Present
For physical certificates, use sturdy, high-quality paper and a color printer if possible. Laminating is an option for certificates meant to last, but it’s not required. For digital delivery, send certificates as high-res PDFs via email. If possible, present the certificate in person or during a group call to give it a sense of occasion. - Keep a Record
Store copies for your own files—digital or paper—so you can verify hours or participation later if someone asks. This comes in handy, especially for community programs and academic verification. - Encourage Sharing
Invite recipients to share their certificates on social media or LinkedIn. Some organizations include handy hashtags or create digital badges as a supplement. This spreads awareness and celebrates your volunteers even further.
Before you start, here’s a tip I picked up: keep a ‘master list’ of everyone who receives a certificate, with dates and certificate numbers if you use them. That way, if someone misplaces theirs or needs proof down the road (say, college admissions ask for verification), you’re ready to help.
Some organizations even print mini-certificates or wallet cards for youth volunteers. Kids love showing these off at school and parents can tuck them away for safe keeping. For remote or hybrid teams—which are more common post-2020—you can add a digital badge or icon volunteers can use in their email signatures or social profiles.
Here’s something not everyone thinks of: send out a quick feedback form after distributing certificates. Ask volunteers how the process felt for them, and whether the recognition felt genuine. That feedback cycle will help you tweak the process so it becomes even better next year.
The simple act of saying “thank you” in a formal, friendly way—on paper or in pixels—leaves a mark. These certificates travel with volunteers, boosting their confidence and helping them open new doors, all while showing the next batch of helpers that their time and energy really count for something.